1:20 Model – Assembly

Above are a couple of pictures showing me during the assembly process. It turned out to be quite a time consuming build as I had made several small parts which all needed to be individually glued on. In hindsight I think it would be better to a frame . that didn’t require as much or any glue, a waffle frame that just slotted together.

1:20 Model – Process

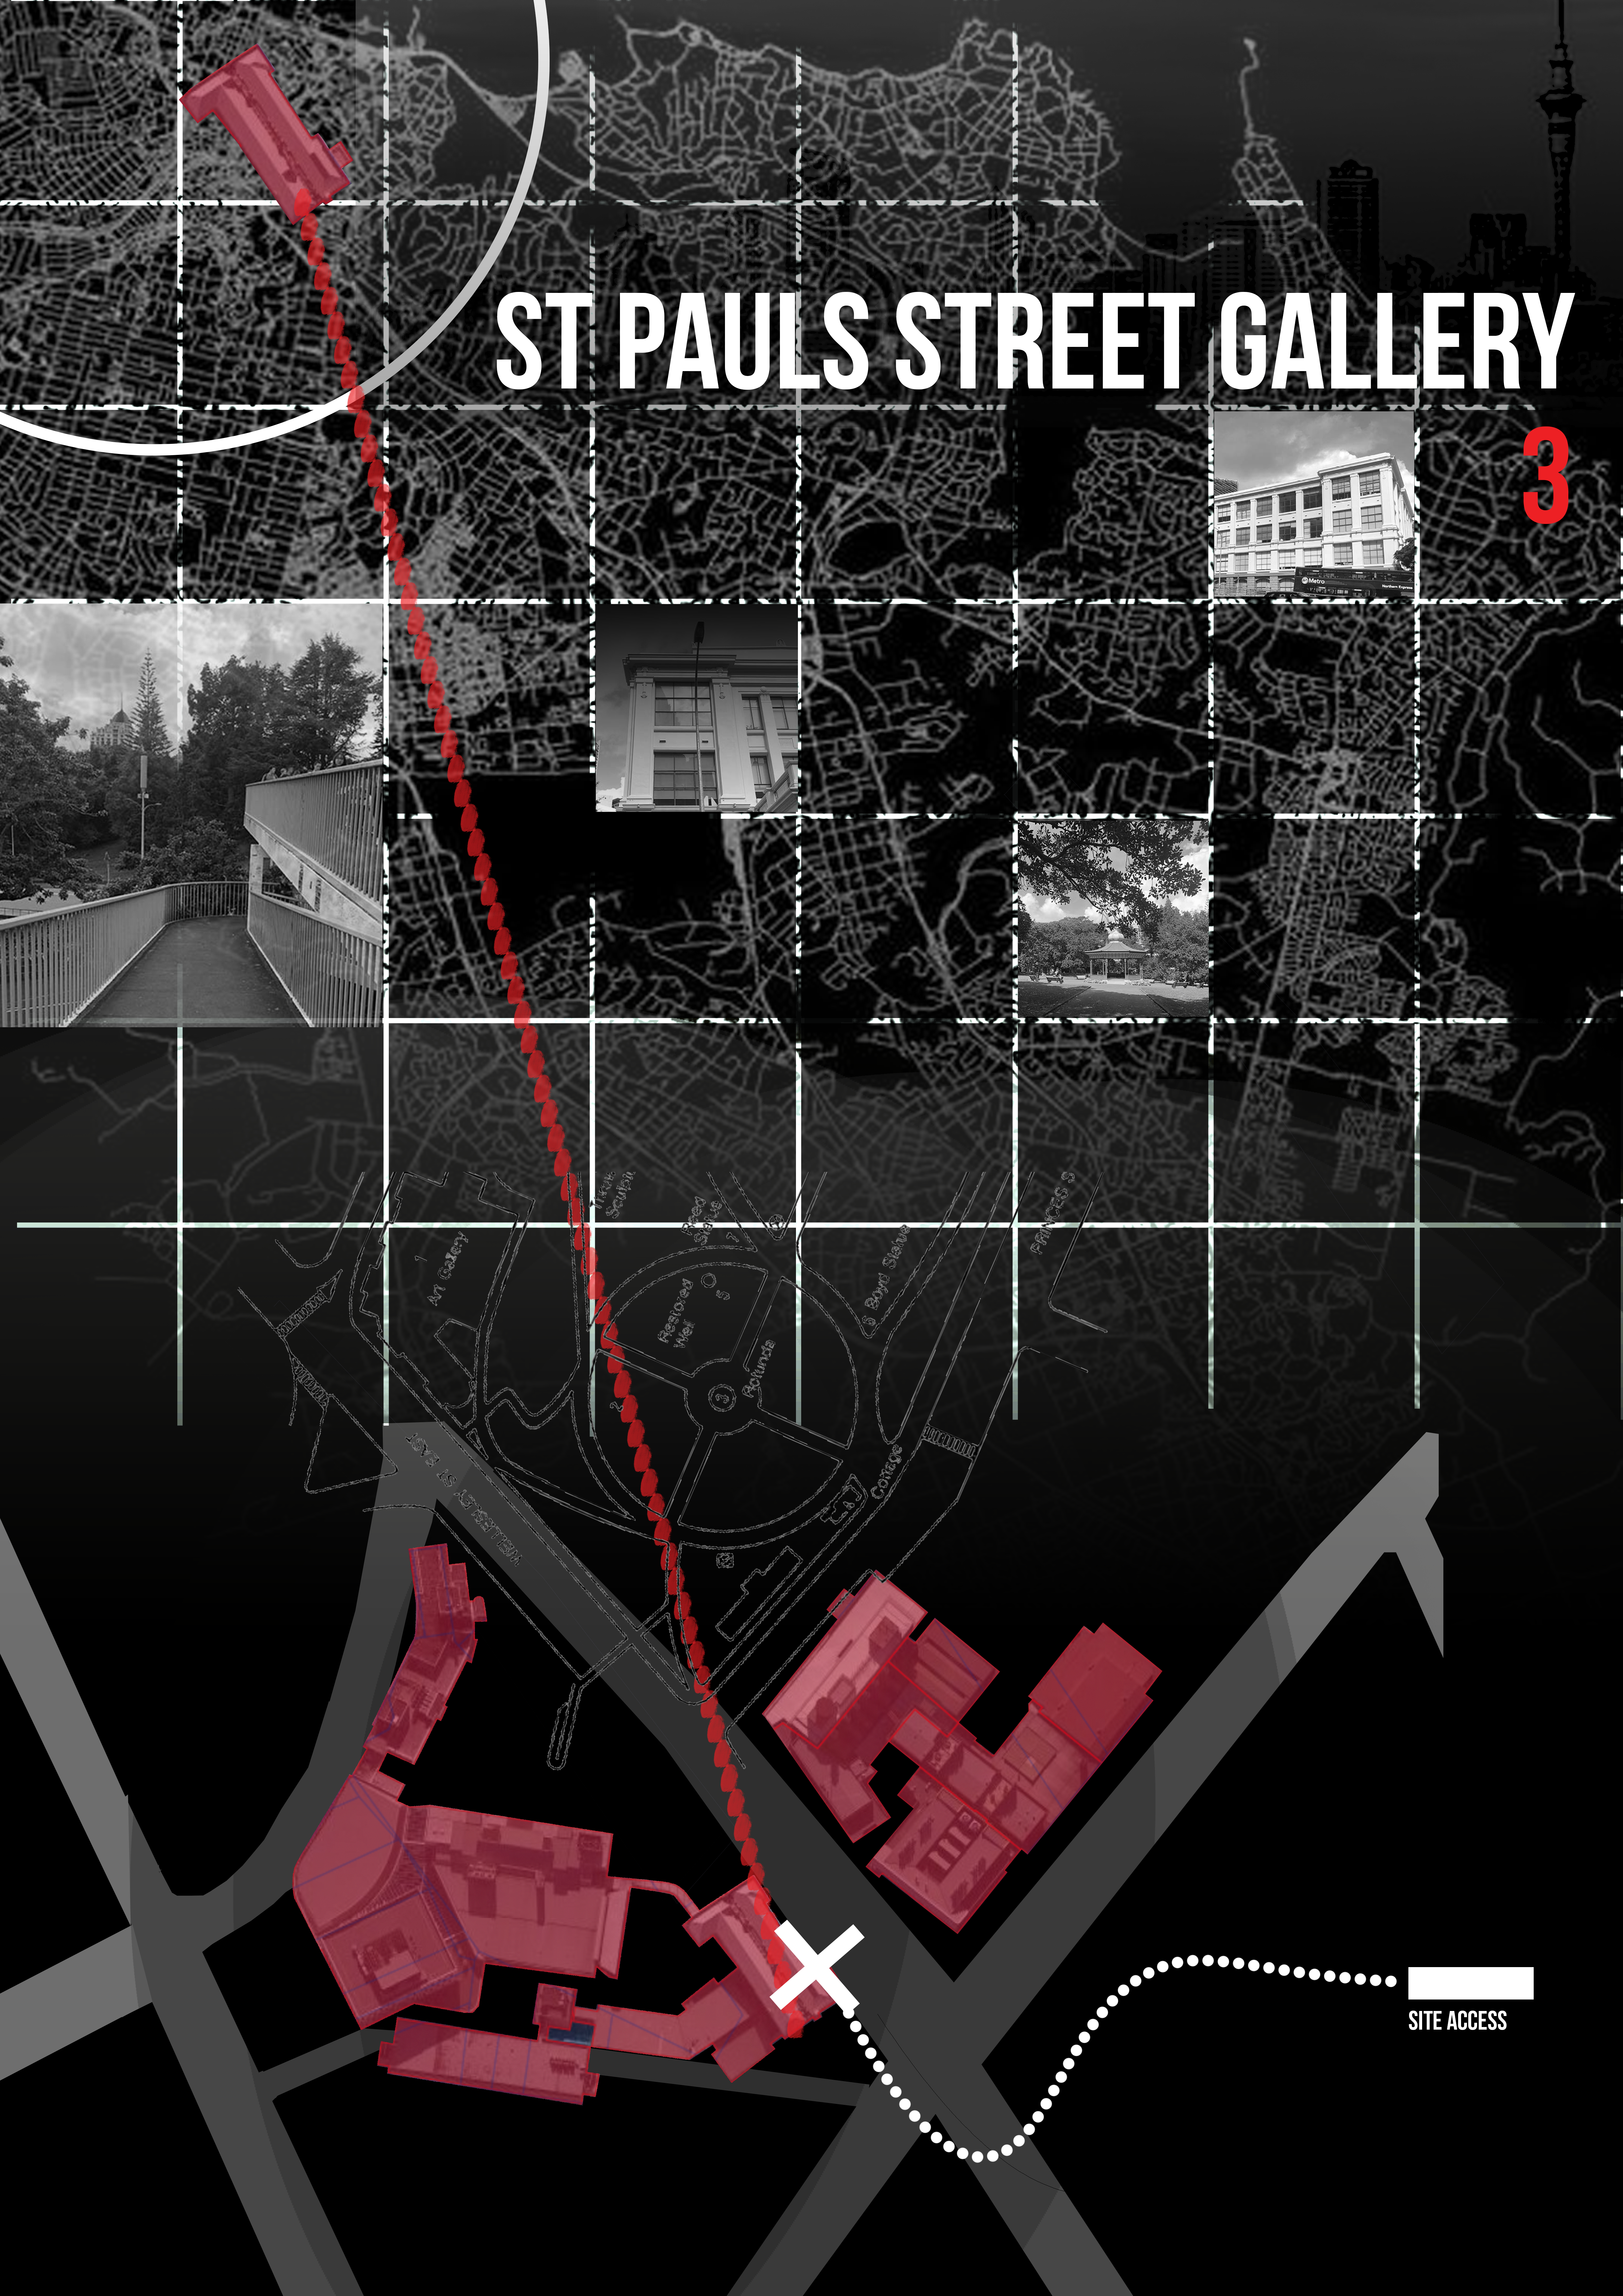
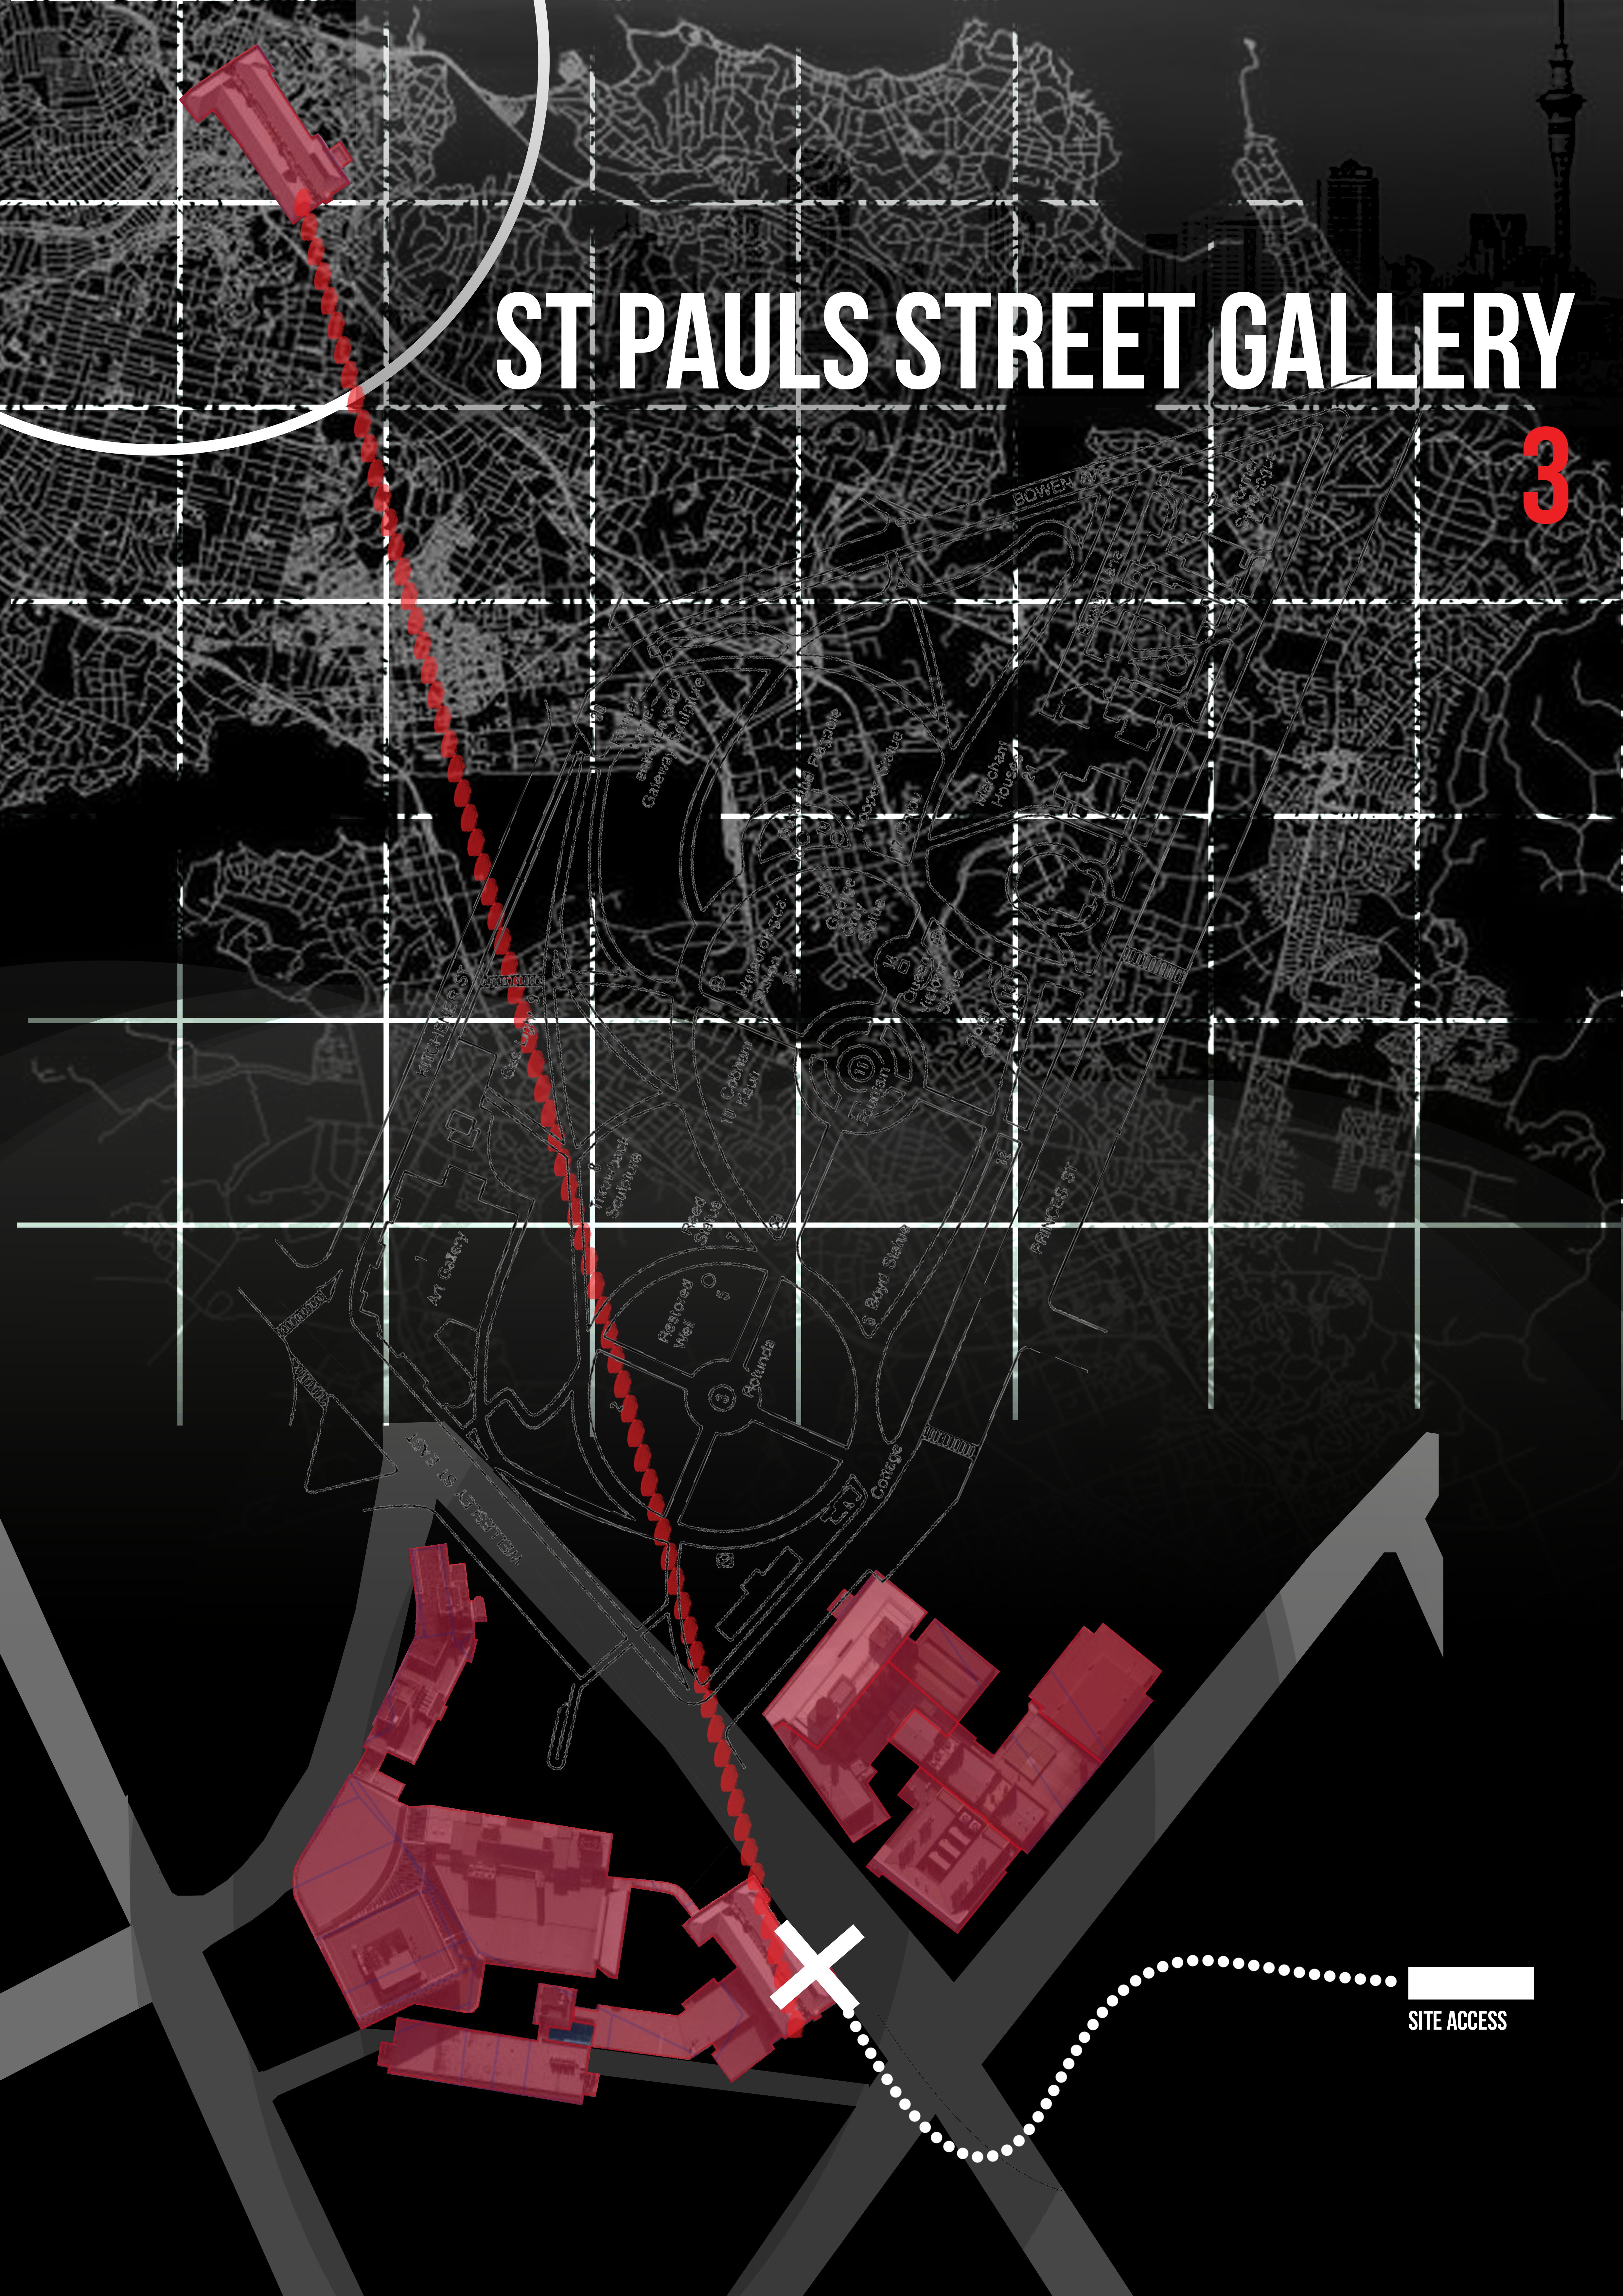
A couple of days ago I went to laser cut my model only to find that it was in the completely wrong scale. Instead of being 1:20 it was much smaller. Confused as to how this had happened I re opened my rhino to investigate. When exporting from Rhino to illustrator I didn’t make sure to conserve the scale meaning that it was distorted, After changing it back to normal I was back in action and headed back to get it cut.

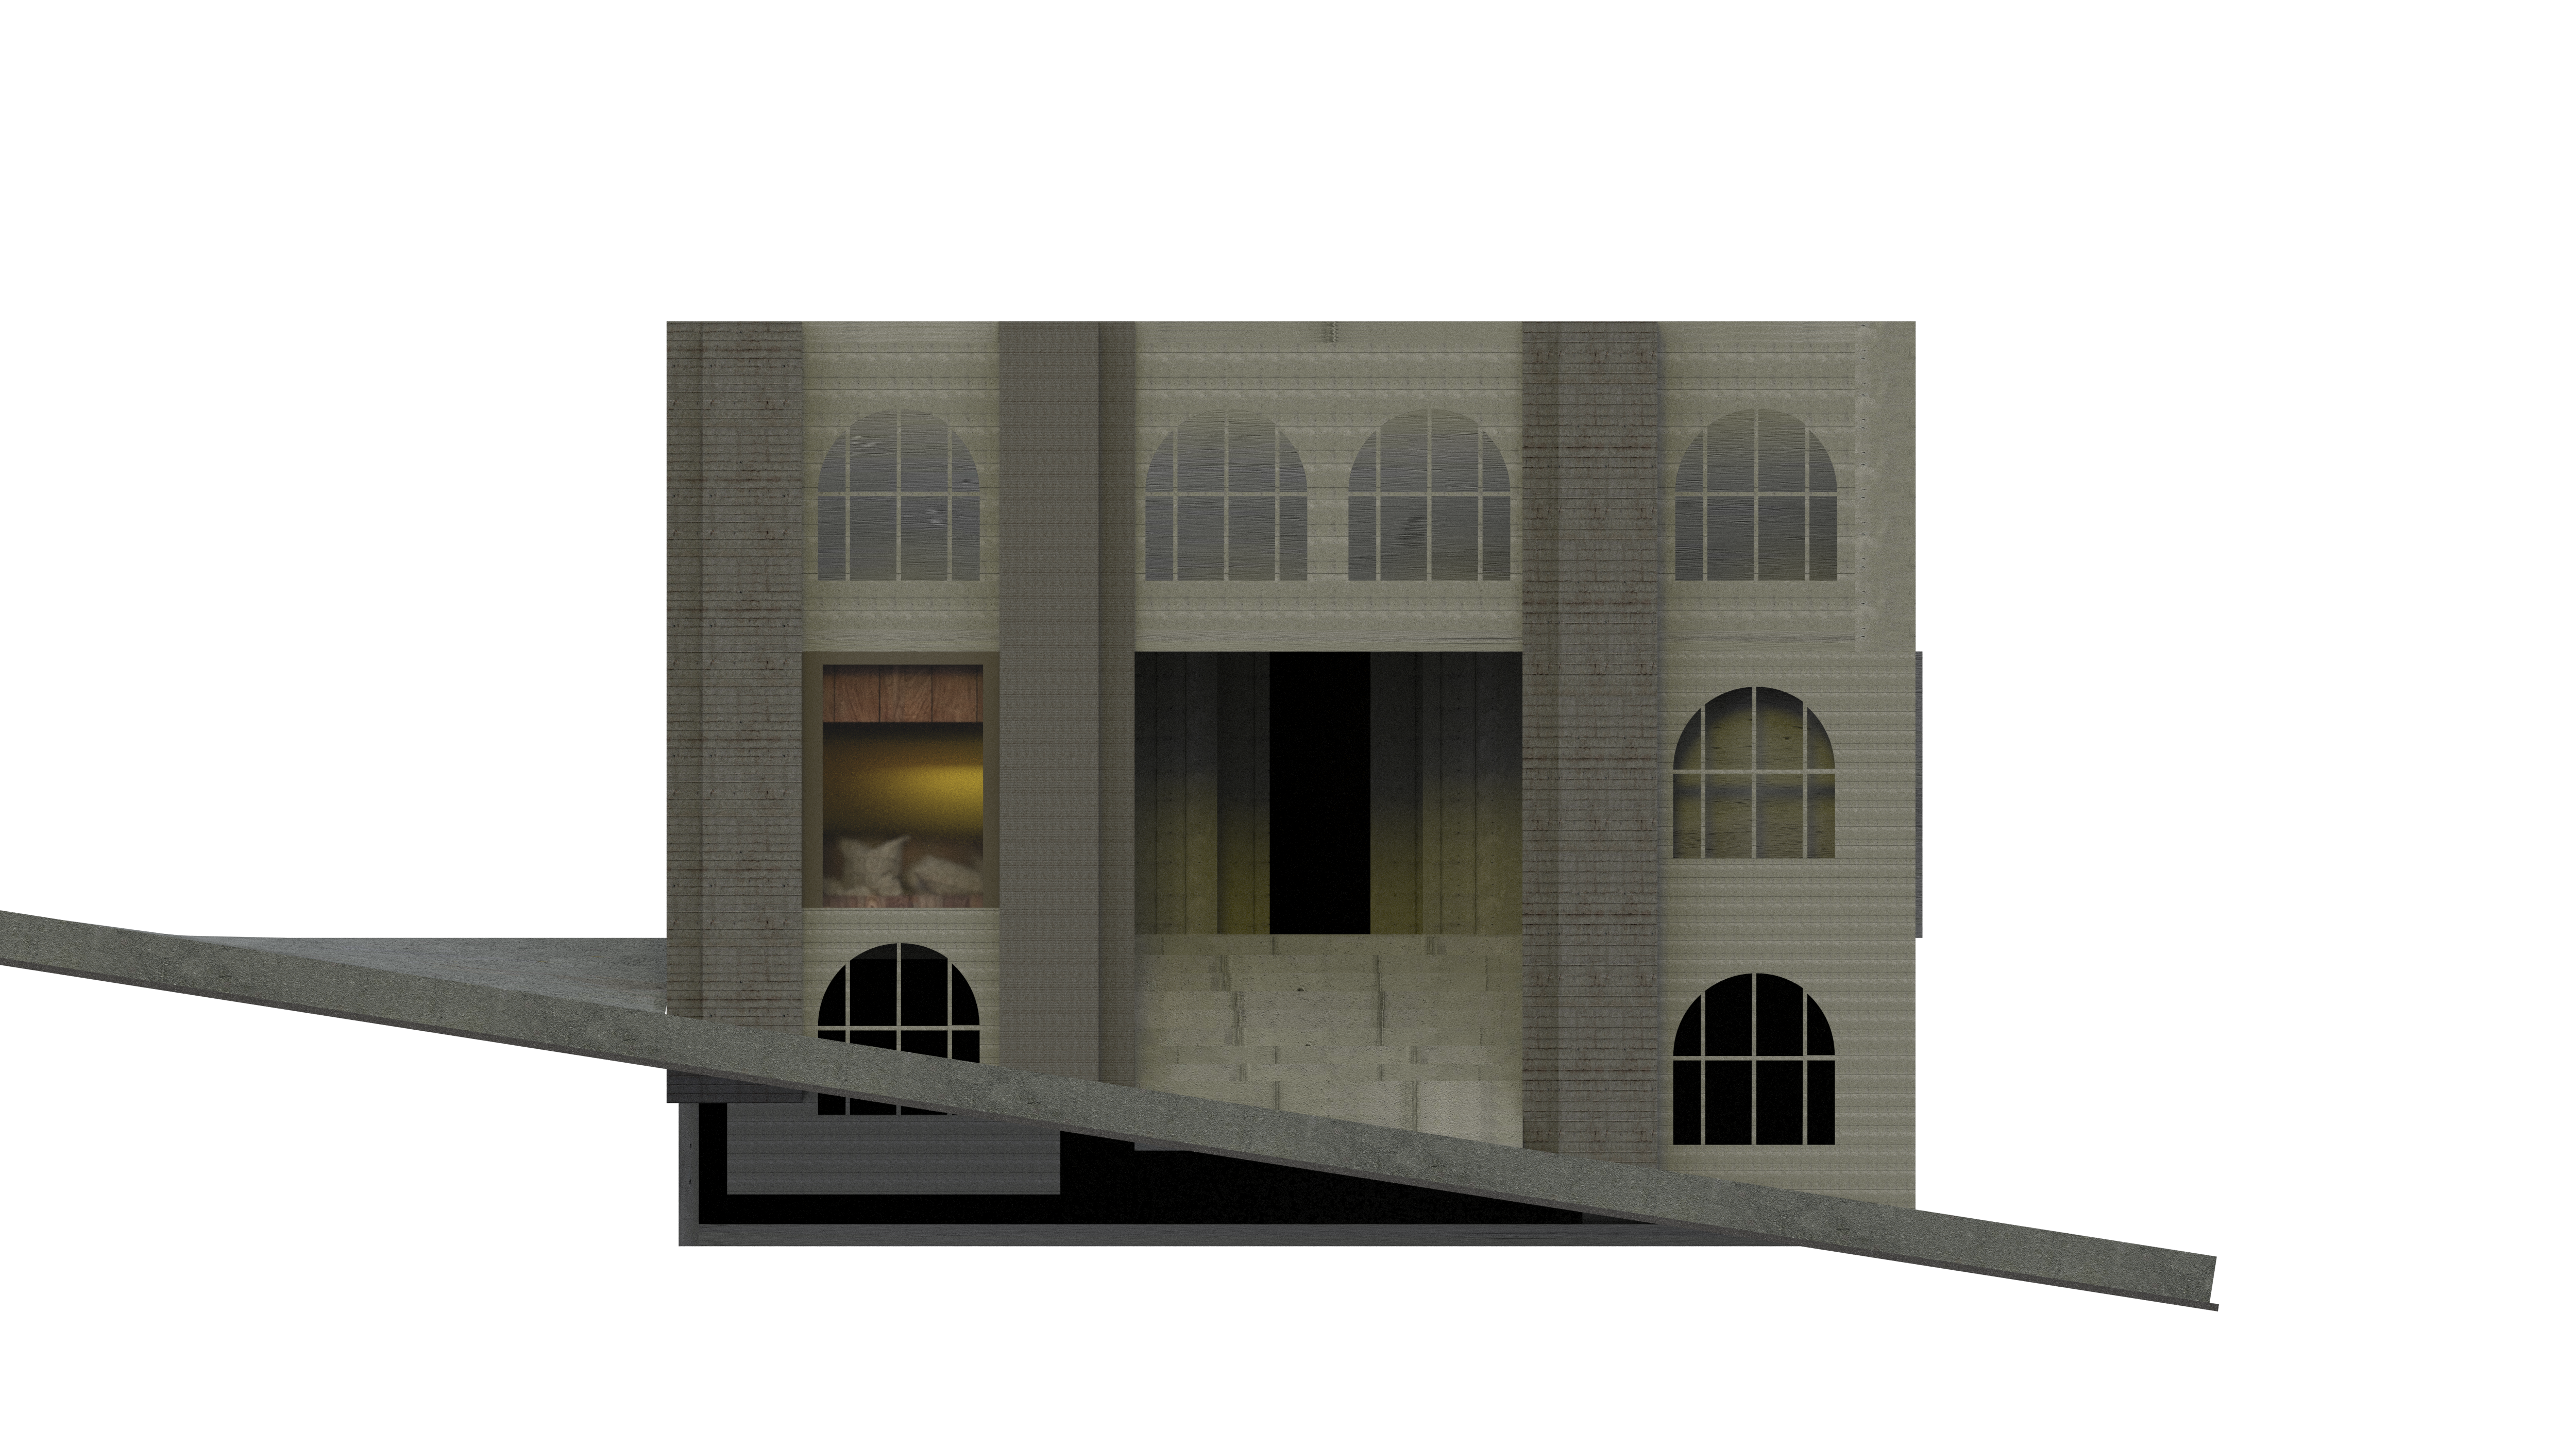
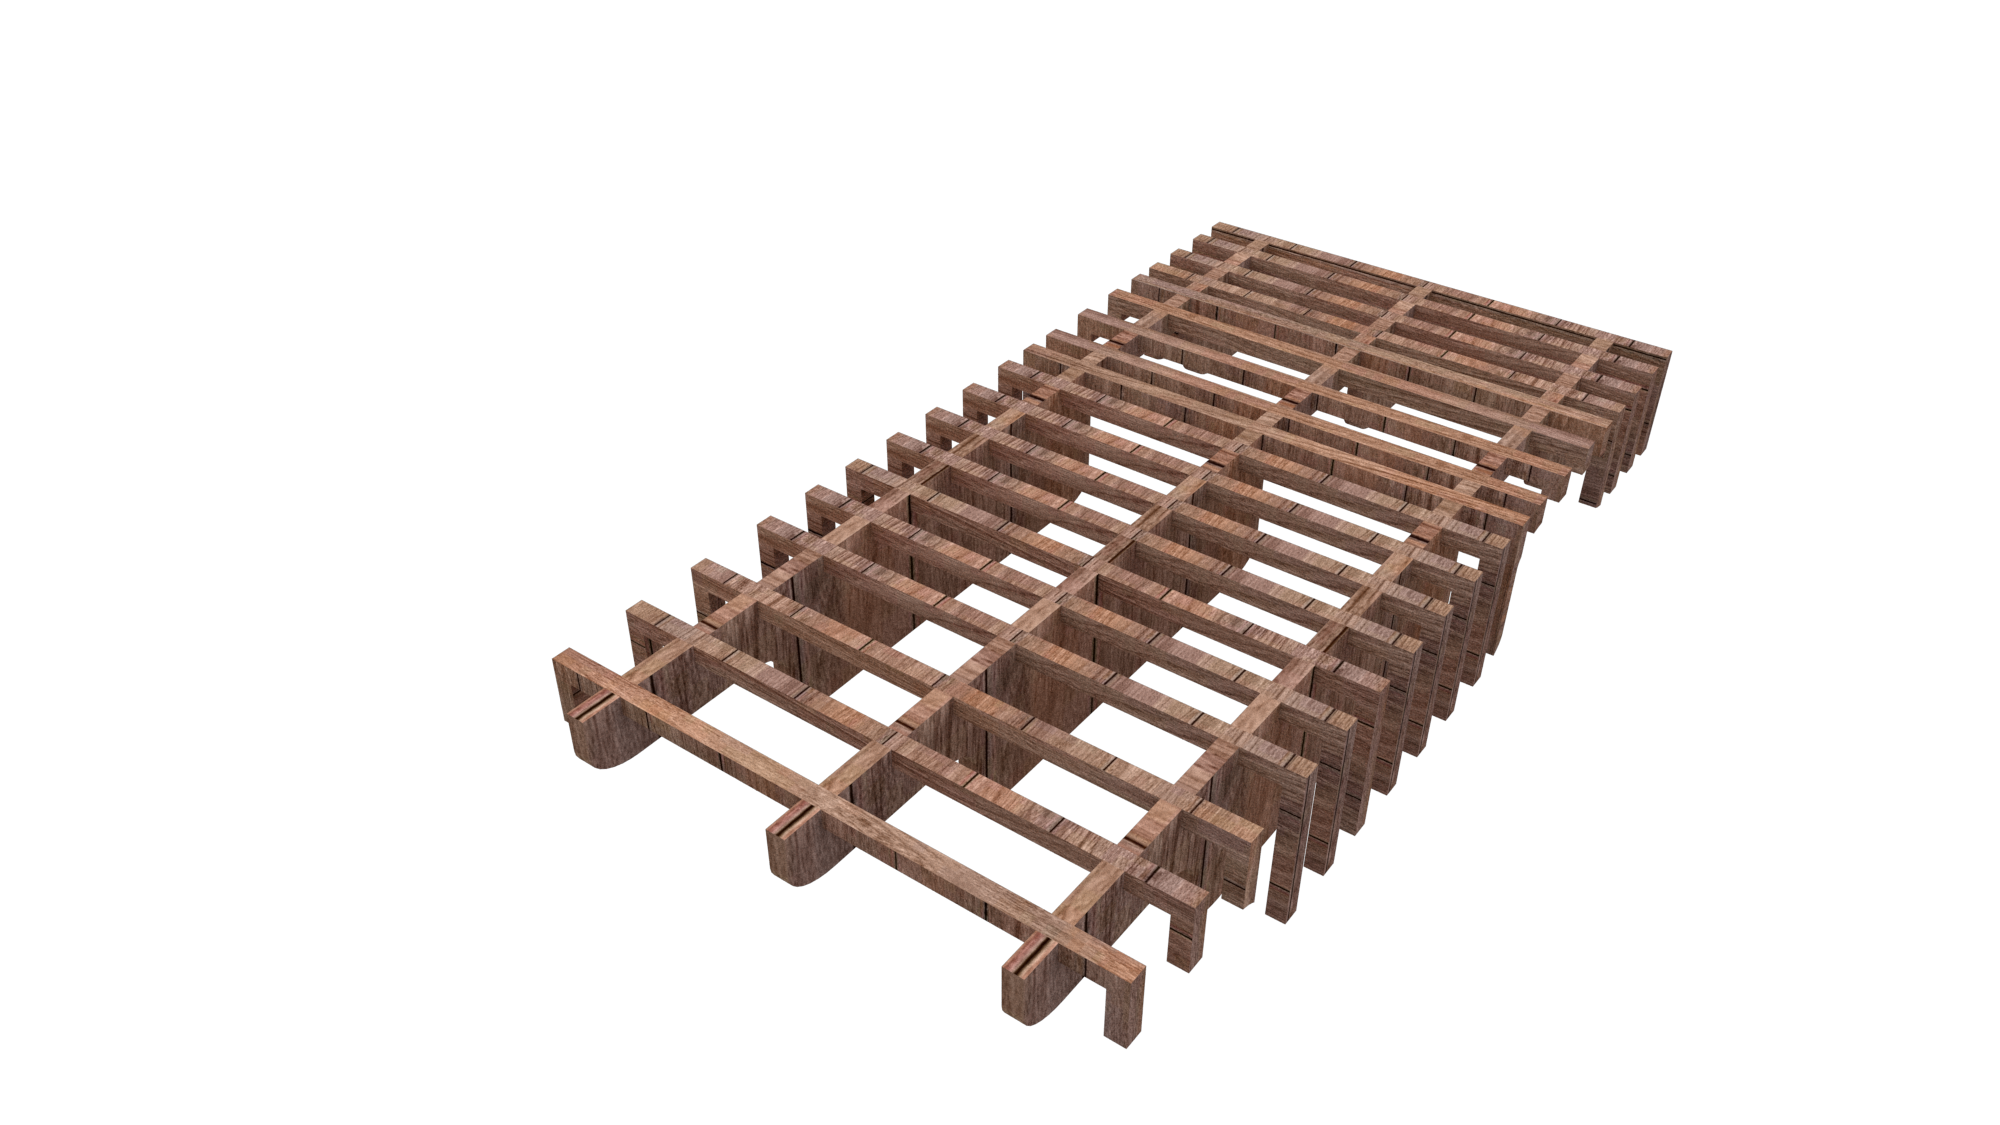
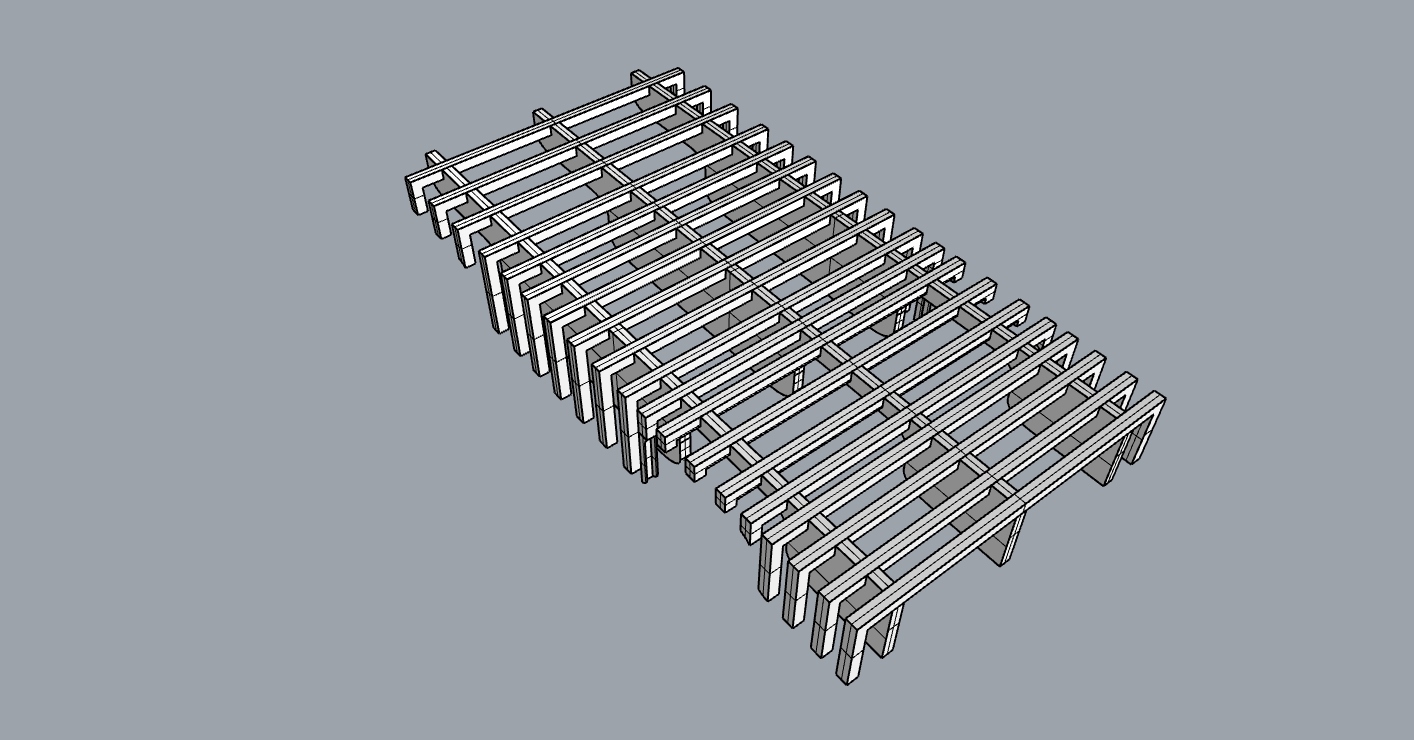
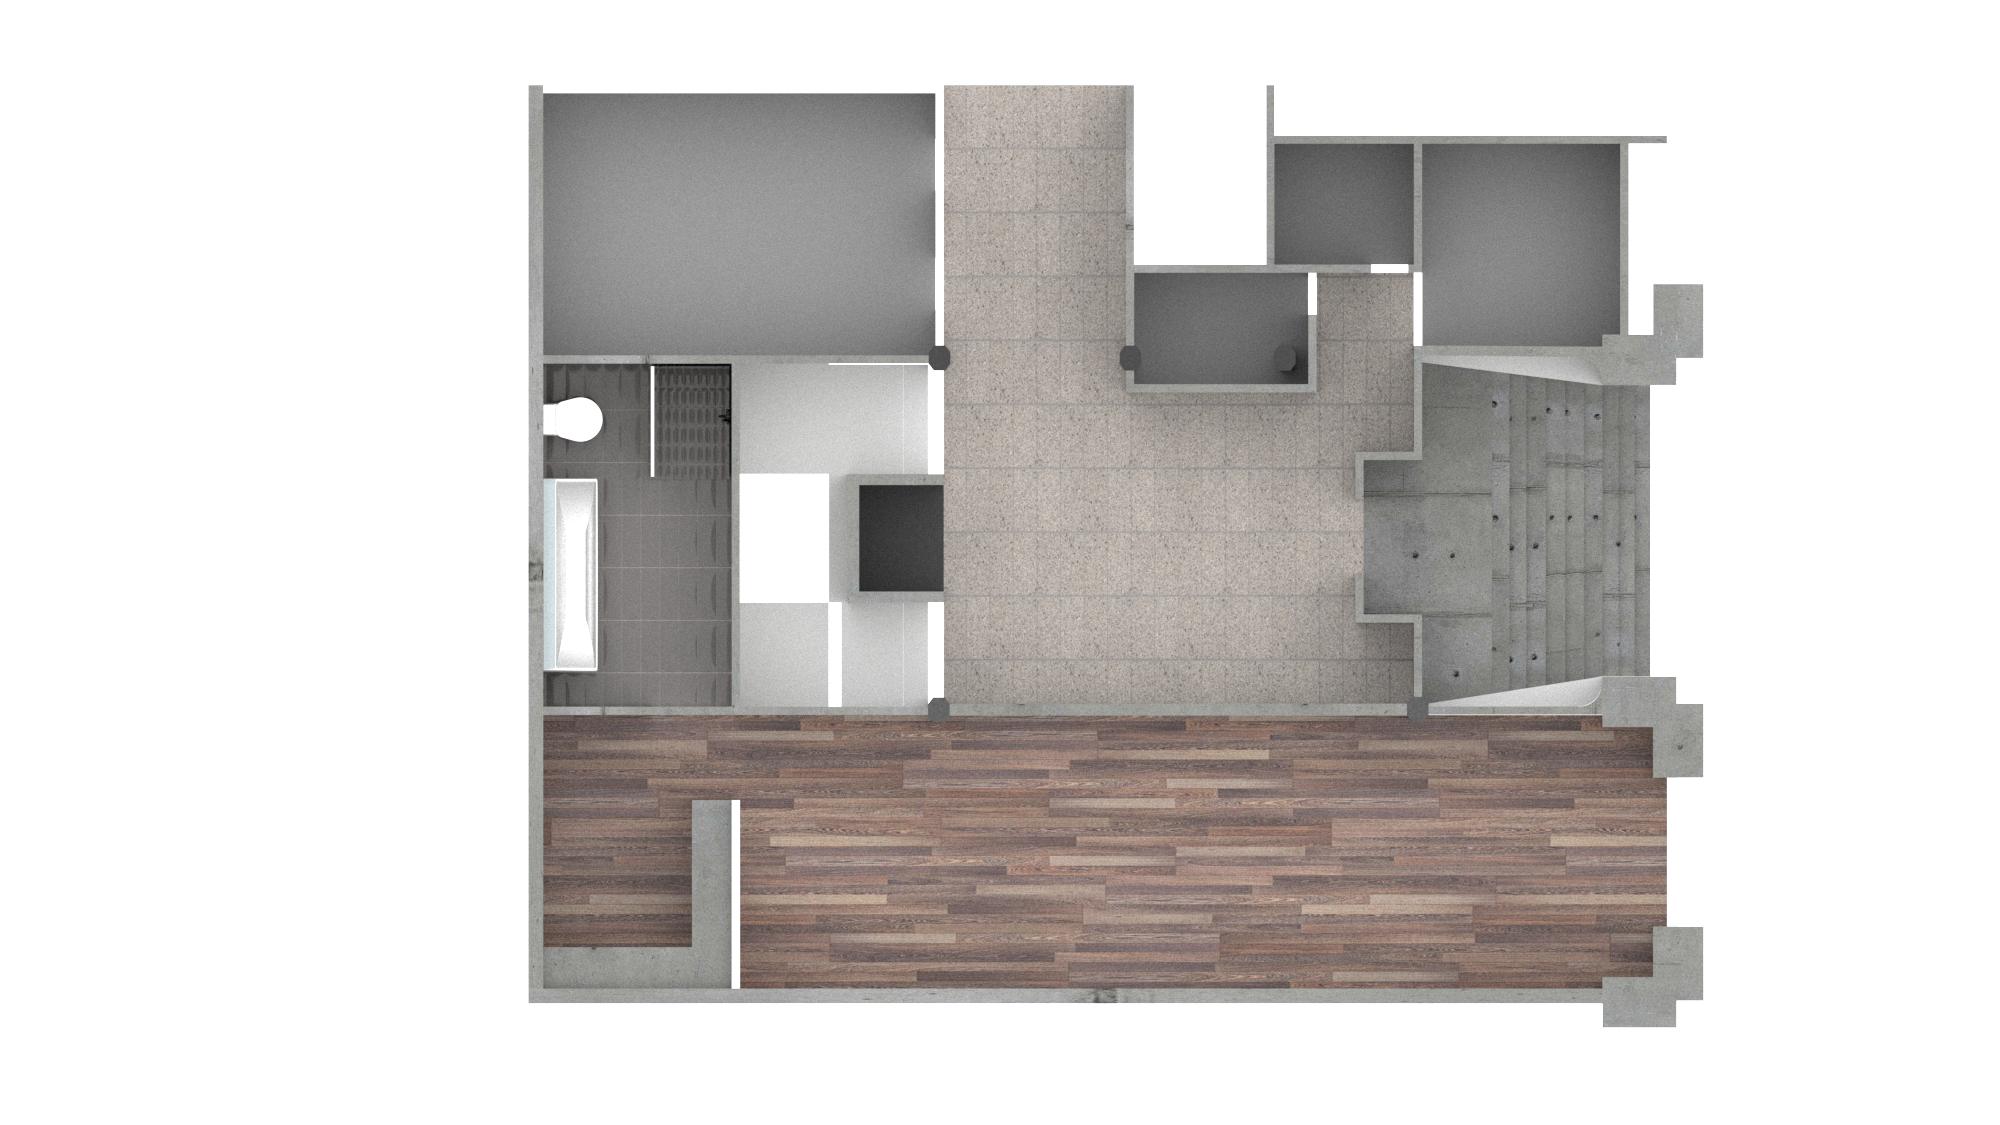
My model has 3 main components to it. There is curved forms the waffle frame sections and the flexible curved kerf panels. As my sleeping platform design takes up majority of the gallery space this resulted in my 1:20 model being rather large and as a result of this I have to use several sheets of MDF.

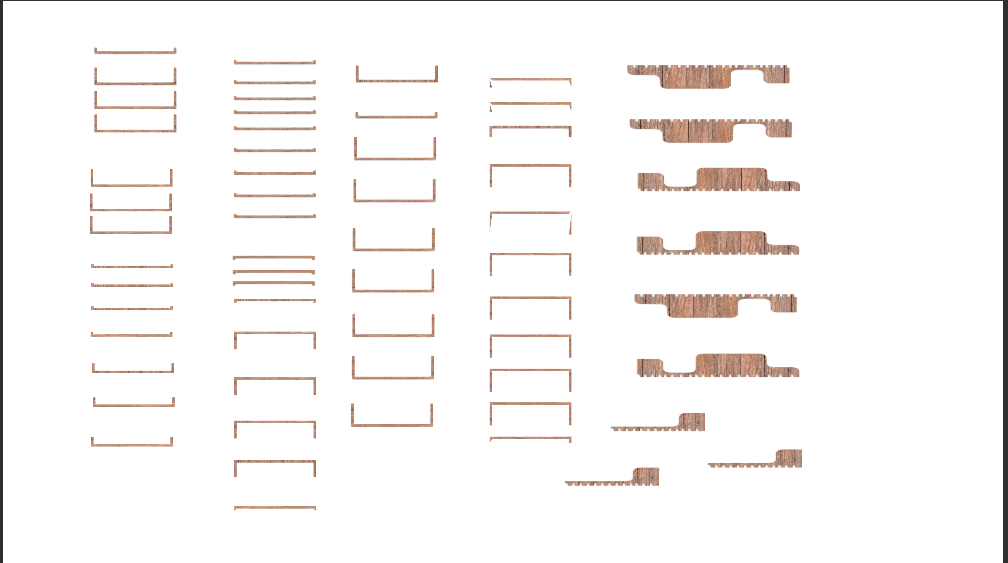
I decided to go with 6mm MDF as it seemed best suited to a model of such size. If I had used 3mm I feel as if it would have looked out of proportion in a way.

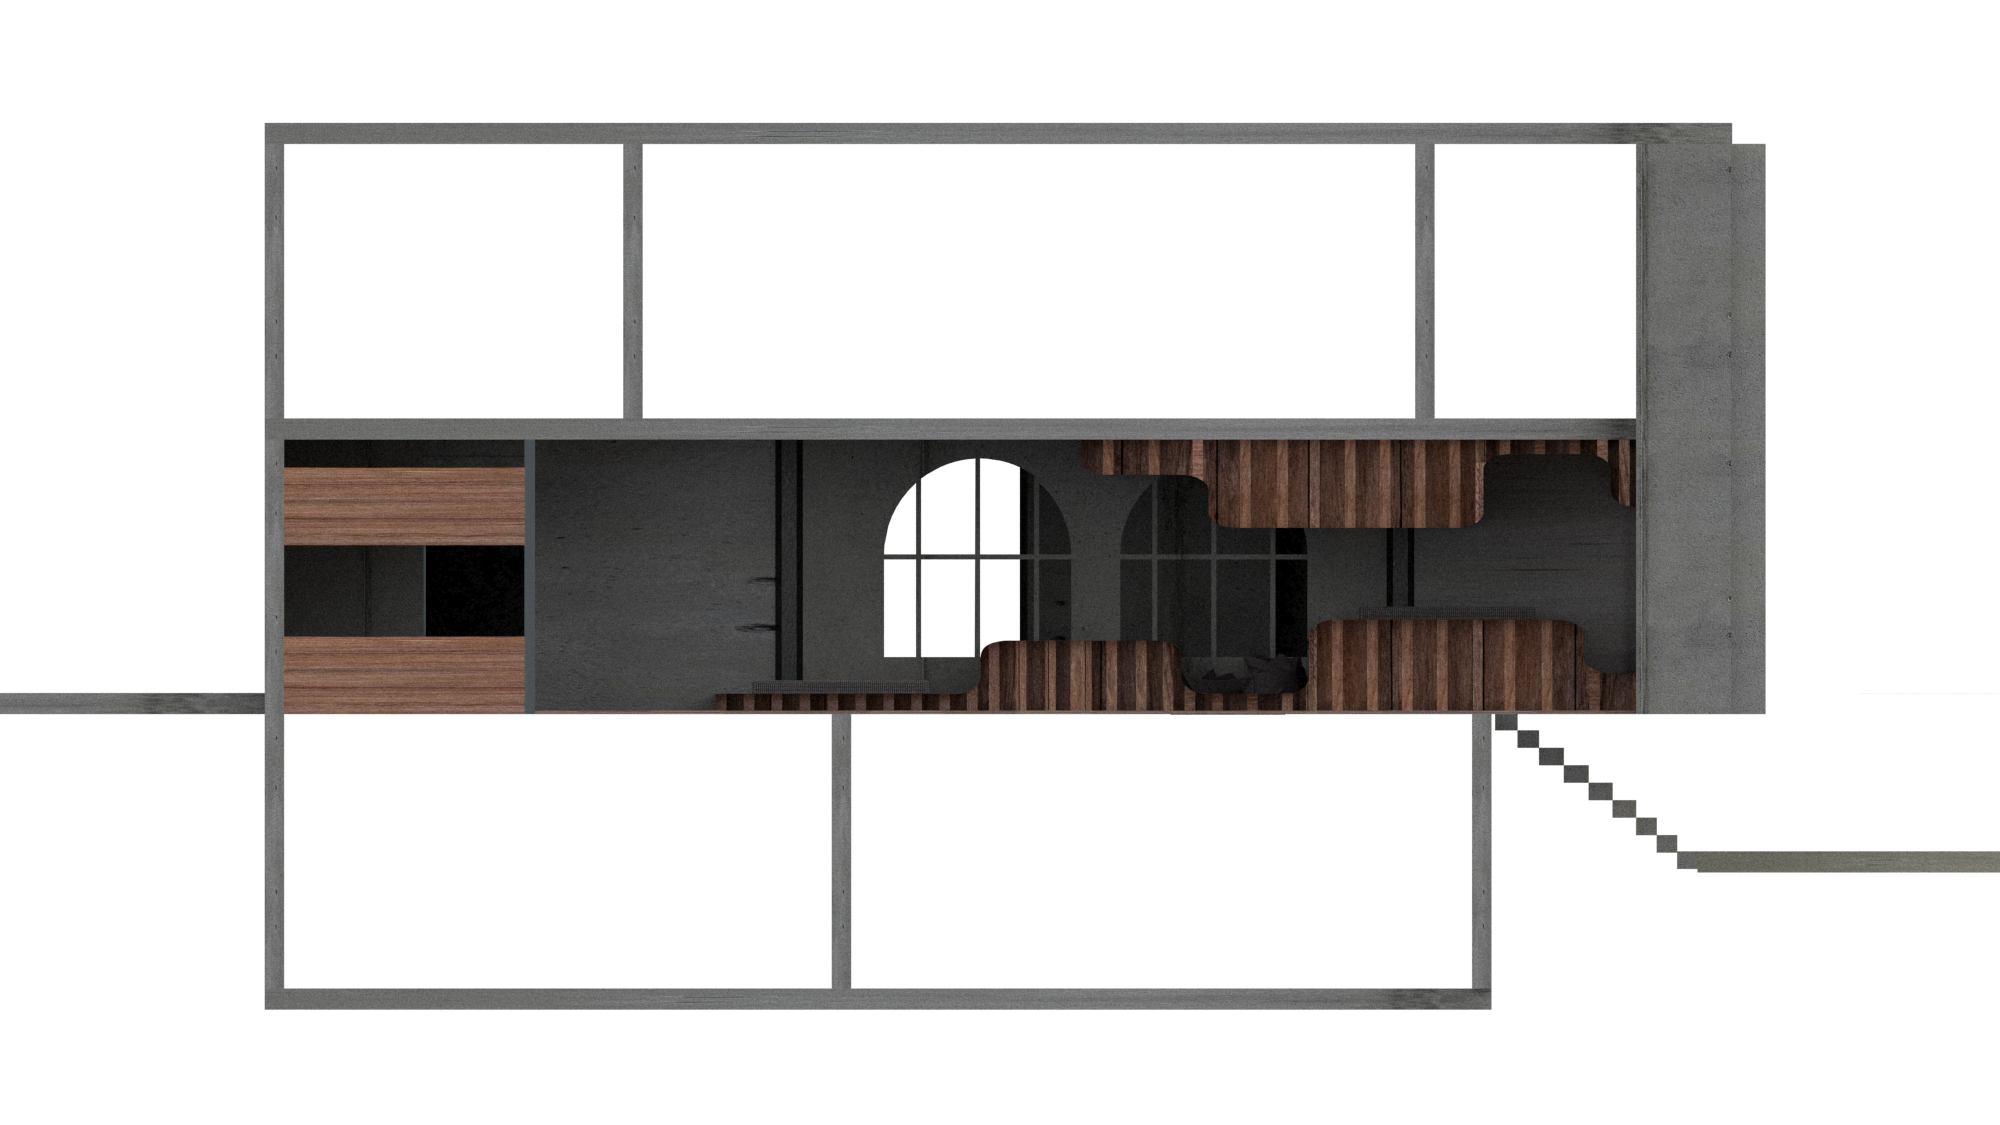
MDF isn’t the prettiest of materials, it has no grain meaning that it looks flat and has no texture to it. In an attempt to try and resolve this problem I decided to try varnish the wood. I went off to bunnings and told them what I was planing to do and they pointed me in the right direction.

They recommend that I get something simple and easy to use a stain and polyurethane all in one type of thing. I took their advice and bright was u can see on the left.

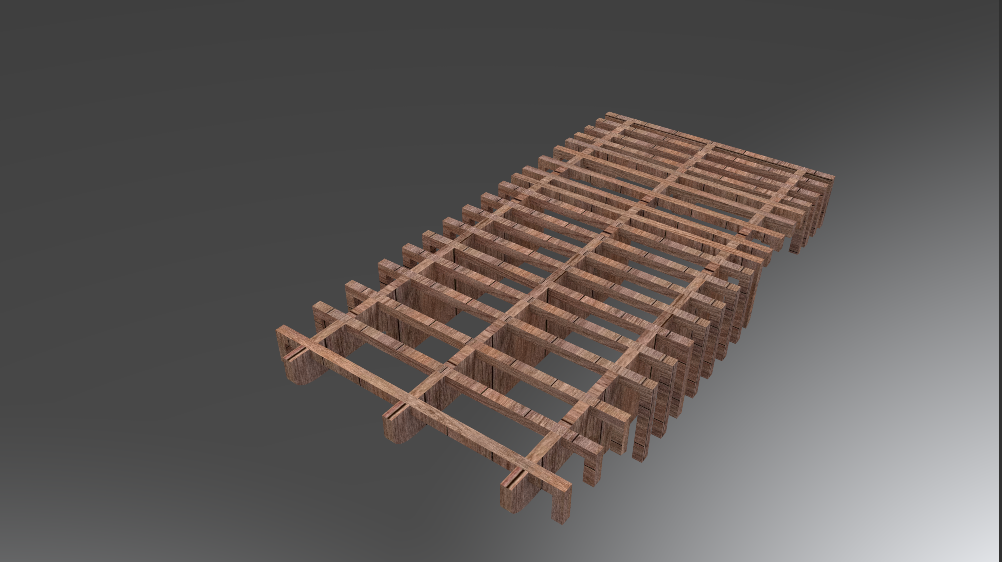
Now traditionally with a stain or varnish you apply it normally with a brush or cloth let it rest for around 5mins then rub off the excess and let the grain of the wood do all the work, however like I mentioned before MDF if plain so in an attempt to try and create my own (fake) grain I applied it on thick and let it dry all streaky. This was a bit of beginners luck but it actually turned out all right.

It looks as if each individual section has been cut out from a plank of wood. I am very pleased with the final outcome.

Rhino development

I decided to create all of my floor plan section and elevations on rhino in order to produce renders that idea would be able to be used in my final presentation. I applied different materials using V-ray and rendered each required angle. Rhino makes this easy has it already is split into 4 main views (Top, perspective, front and right) allowing ease of use when rendering for example a section.

Designing Waffle

03.06.19

Taking the original form I made In Rhino I transformed it into this waffle frame form. it took me a while to get my head around how to do it but once I got the hang of it I was flying through. The next step was to explode it and lay it all flat for laser cutting.

After taking into account for broken pieces and potential stuff ups I laid out all the components. When creating a waffle . it is important to leave space for each piece to slot in, In this case the material I am using is 3mm thick plywood so I made sure to make each slot 3mm wide. I will be taking this to the laser cutter tomorrow, so hopefully all goes well.

I also had to adjust the size of the kerf board. My last attempt was successful in the fact that the cuts allowed the wood to bend however it was much too long and out of scale. I have also increased the amount of shapes, upping it from 3 to 9 to make it bend sharper….. Hopefully!

Waffle Frame – Research

02.06.19

What is a Waffle Frame and what does it do?

A waffle frame or consists of a particular geometric shape repeated in a waffle like fashion in order to form a solid form, They usually consist of several interlocking panels or sections that are arranged an equal distance from one another. Fascinated by this concept I decided to explore the potential of waffle frames. Below are a couple of images I stumbled upon.

After discovering these images I was opened up to the world of potential this medium has. Not only does it crate a strong frame it also allows for curved forms, perfect for my design. I will implementing this into my modelling and will make a frame to laser cut.

Model Development

02.06.19

Today I started on creating and designing my 3D version of my sleeping platform in rhino. The purpose of doing this is to 1.use it as a template for my laser cutting and 2. install it into my 3D rhino version of the gallery space, this will allow me to get rendered shots of it for both my sections and atmospheric images.

If we go back a couple of posts I made a very simple model of a potential idea, (below)

made out of corrugated cardboard

I simply took this shape into rhino and mirrored it against one another. I liked the way it looked now I just had to figure out a way to make it in real life…

In studio last Monday I was talking to Sue and she gave me the idea of potentially looking into making a waffle type frame to suspend the undulating form. I also liked this idea and decided to research it further.

Floor-plan Development

01.06.19

Today I decided to make the gallery space in rhino. After completing my digital project on the 31st of May I have now gained better knowledge of how to use rhino and the potential it has.

In the last studio project, I placed my model on a a piece of MDF that was engraved with the floor-plan to give the model context. Taking this 2d floor-plan I previously made I extruded the walls to create a 3D model of the entire gallery space. This will allow me to take shots of the gallery from the top view, ultimately creating a digital floor-plan. Rhino also allows rendering, my plan to to produce a rendered floor-plan showing my sleeping platform and intervention. I also plan to do the same for both my sections and elevations.

Below I have included some photos of the progress i’ve made and where i’m currently up to

I have added in the bathroom and kitchen towards the rear of the site
when my final sleeping platform is done I will include it in these floor-plans

I personally think that a digital rendered floor-plan is a much stronger visual tool than a hand drawn one. It looks much more detailed and it allows the space to be explained and explore further. I also plan to create one singular final document for my presentation, instead of having several singular A2/A3s I want all of my work to be collated into one, creating a more cohesive experience for the viewer. I will included a blog post into presentation research and design layout in a future blog post.

Research – Site Drawing

26/05/19

What is a site drawing? When I think of what one may look like I think of a birds eye view, looking down on the site. Somewhat similar to a site plan, however less technical and more creative. Traditional Site plans usually show the buildings footprint, travelways, parking, drainage facilities, sanitary sewer lines, water lines, trails, lighting, and landscaping and garden elements.

I want to capture some concepts and ideas included in the traditional site plan to better explain and explore the gallery site and put it into context. It is important to remember that the site is not just somewhere floating in space, there is context. For example the first major thing to consider is that the gallery site is situated within a university, a university that is in the middle of the city. These are important factors that I think need to portrayed in my site drawing.

I plan to use grids, maps, coordinates and text to explain and demonstrate a strong relation to space, this will aid the viewer in better understanding the project in regards to